

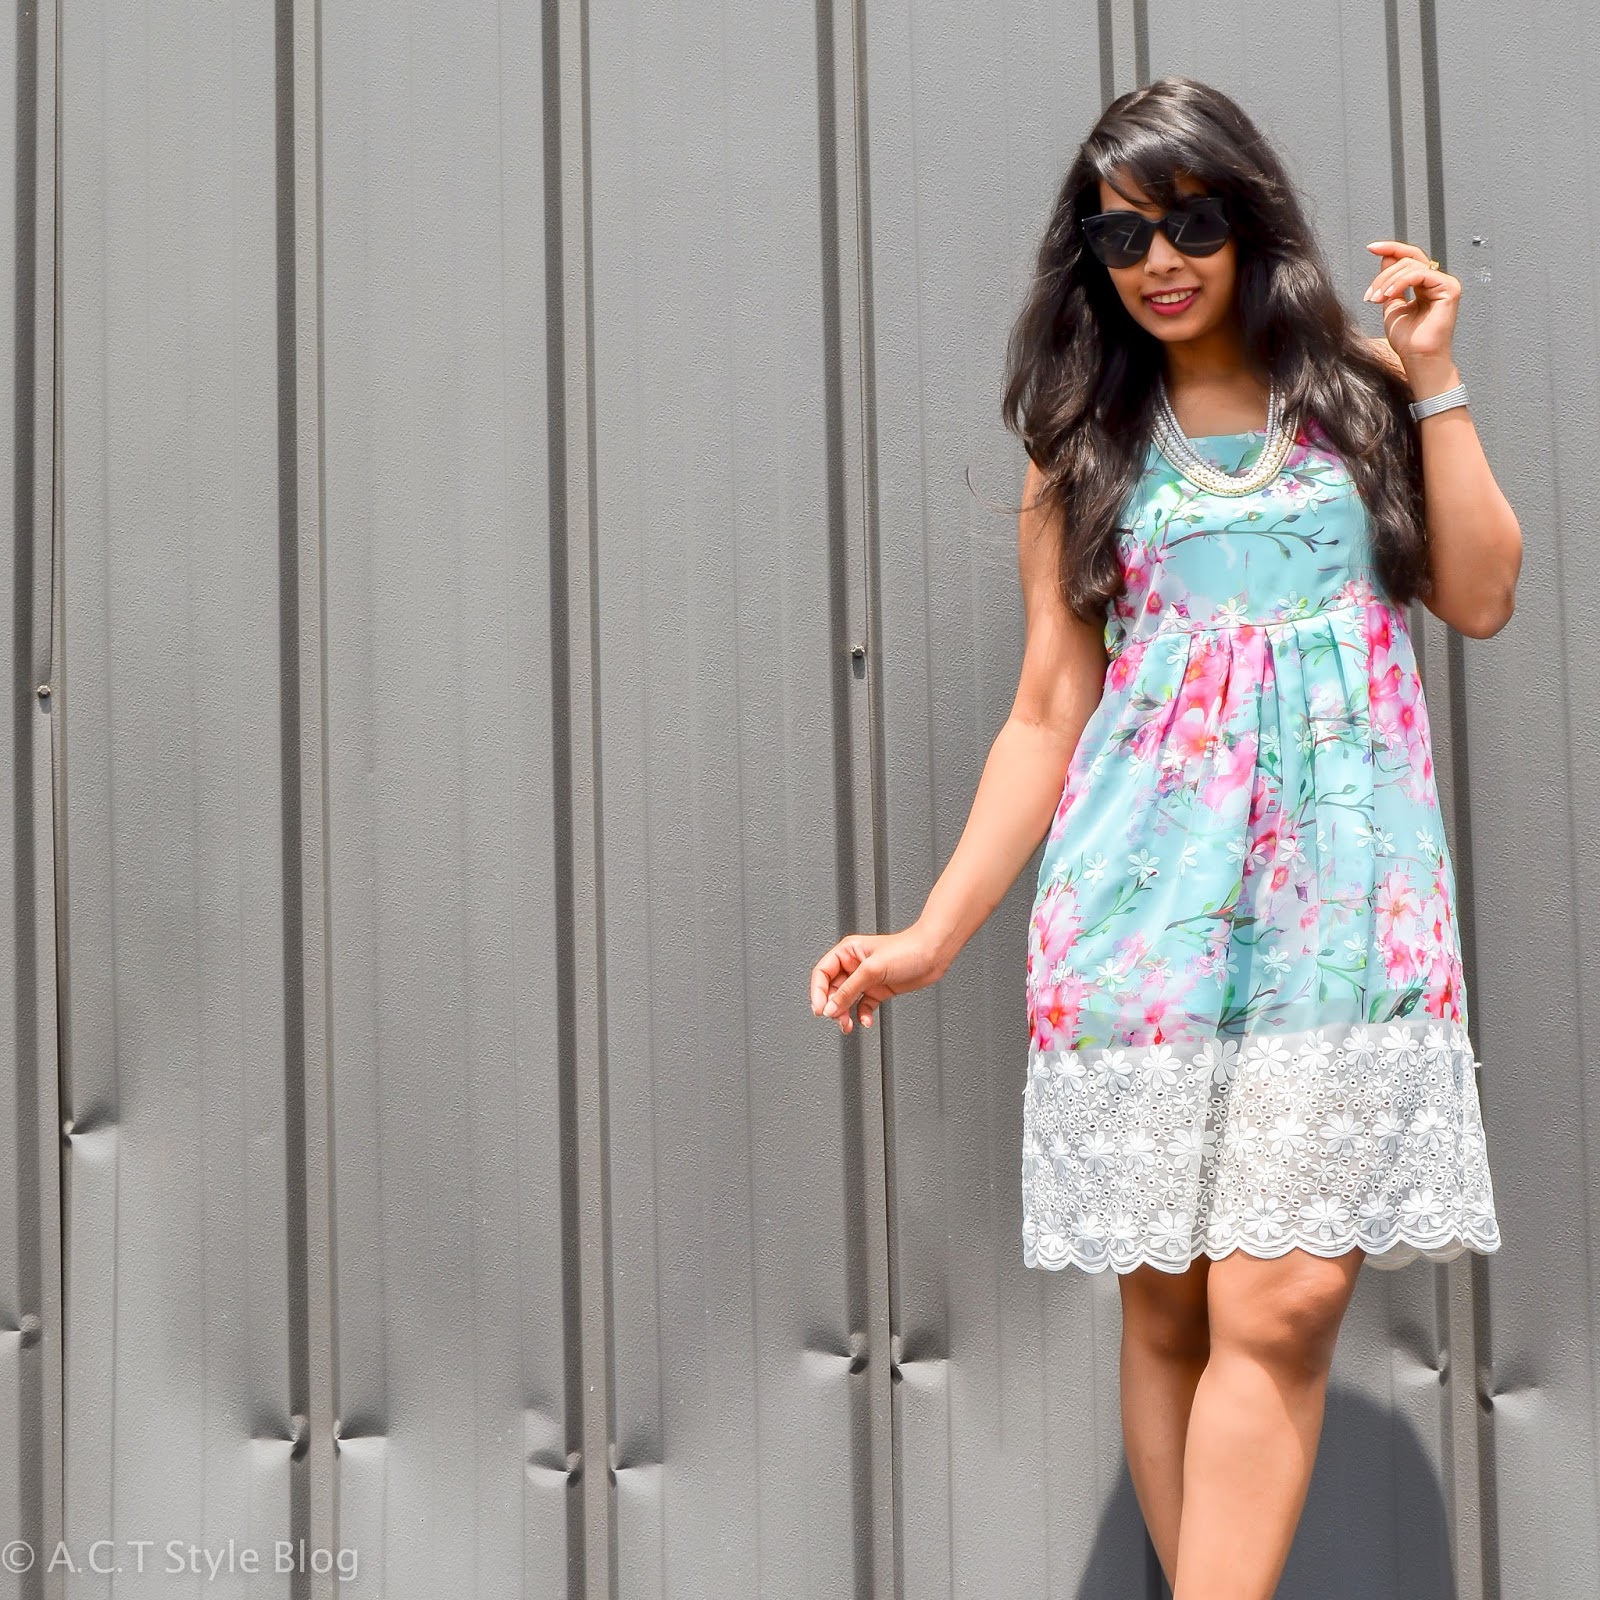
Spring/summer is my favorite season to DIY ! The warm crisp air and fresh blooms all around gets my creative juices flowing. This easy breeze summer dress is one of many DIYs coming up on the blog soon.
I fell in love with this floral mint fabric as soon as I laid my eyes on it ! The lace on the bottom adds delicacy to the beautiful floral print. I wore the dress with pearl necklace, which perfectly compliments the lace detail, and kept rest of the accessories simple.


So lets get started with the DIY .....
Things you will need :
1 1/2 yard light weight fabric (and 1 1/2 yard lining if needed),
A top that fits you perfectly to trace,
Pattern paper or craft paper, pencils or marker,
Ruler, Pins,
Zipper,
Matching Threads,
Sewing Machine.
Skill Level: Beginner / Intermediate
Making the Bodice:
1. Lay the top you want to trace on pattern paper and trace the bodice (just below breast bone).

2. The top I used to trace is jersey(stretch) material but the mint fabric I am working with has no stretch hence to compensate I added 2 inch S.A . Otherwise add one inch seam allowance (S.A) all around.
3. Once you are happy with the pattern, draw a line in the center. Name one half ‘Front’ and other ‘Back' and cut them out.
Fold your fabric in half and place the cut pattern paper on the fabric as shown below. Its important to place front pattern on the folded side and back pattern on the open end of the fold and NOT vise verse. If you are using lining fabric like I am , then cut front and back pieces in the same manner.

Making Straps:
4. I cut 2 pieces with Length = 9 inches and Width = 2 Inches. Now fold each piece in half length wise and sew with 1/2 inch seam allowance (Dotted line below).
Then cut off excess fabric as close to seam as possible (I used a pinking shears) and flip the strap inside out using a loop turner or safety pin.

Take one end of the finished strap, place it between the lining and mint fabric at the neck line of the front piece(like seen in the picture below) and other end of the strap at the neckline of the back piece. Do the same on the other side.
And sew only the neckline and arm hole sides of both front and back pieces.

6. Turn the front and back pieces inside out so that the seam gets tucked in and straps are outside. Sew the side seams by placing the front and back pieces of the bodice right side facing together.(dotted line at one inch SA)
7. Measure around your hips and add 10 inches to it, this will be your Total Width = Hips+10inches. Height = how ever long you want your dress to be. I kept mine to 20 inches .
Now cut two rectangles with Width = Total width / 2 and height = 20 inches, name them front and back. Cut the Back piece in half again so we can add zipper at the end. Cut lining pieces in the same manner. (I kept the height of the lining fabric 5 inches shorter because I did not want blue lining underneath the white lace part )

8. Now you will have two long rectangle panels. Place the lining underneath your fabric matching up the ends. Find mid point on the fabric and make one inch pleats in the direction of arrows below.
Also make 3 pleats on both ends leaving half inch S.A as shown below.
Adjust the width of the pleats if you have to until the total width of the skirt is equal to total width of the bodice. Sew across the skirt panel at quarter inch SA to hold the pleats in place (dotted line).


Now all thats left to do is put in a zipper and sew the remaining open seam on the two ends close. I had finished lace edge on my fabric so I did not have to hem the mint fabric but I did hem the lining fabric.
And you are ready to step out with your beautiful dress !!

Thank you for Stopping by :)
No comments:
Post a Comment